A Traditional Artist's Review of Procreate: Tips for Transitioning to Digital Art
By Lea Byrnes Art
So, you finally did it: you purchased your very own iPad and Apple Pencil to begin making those awesome digital paintings you see other artists posting all over Instagram. But… now what?! Transitioning from traditional to digital media can be very intimidating. However, as someone who has spent the last month doing exactly that, I am here to help you begin your exciting new journey.
In my artistic career, I have spent years mastering the various forms of traditional art, including watercolor, oil, and acrylic paint. Trying out Procreate for the first time was an exciting (and slightly overwhelming) experience for me. After many hours, my first Procreate drawing looked like this:
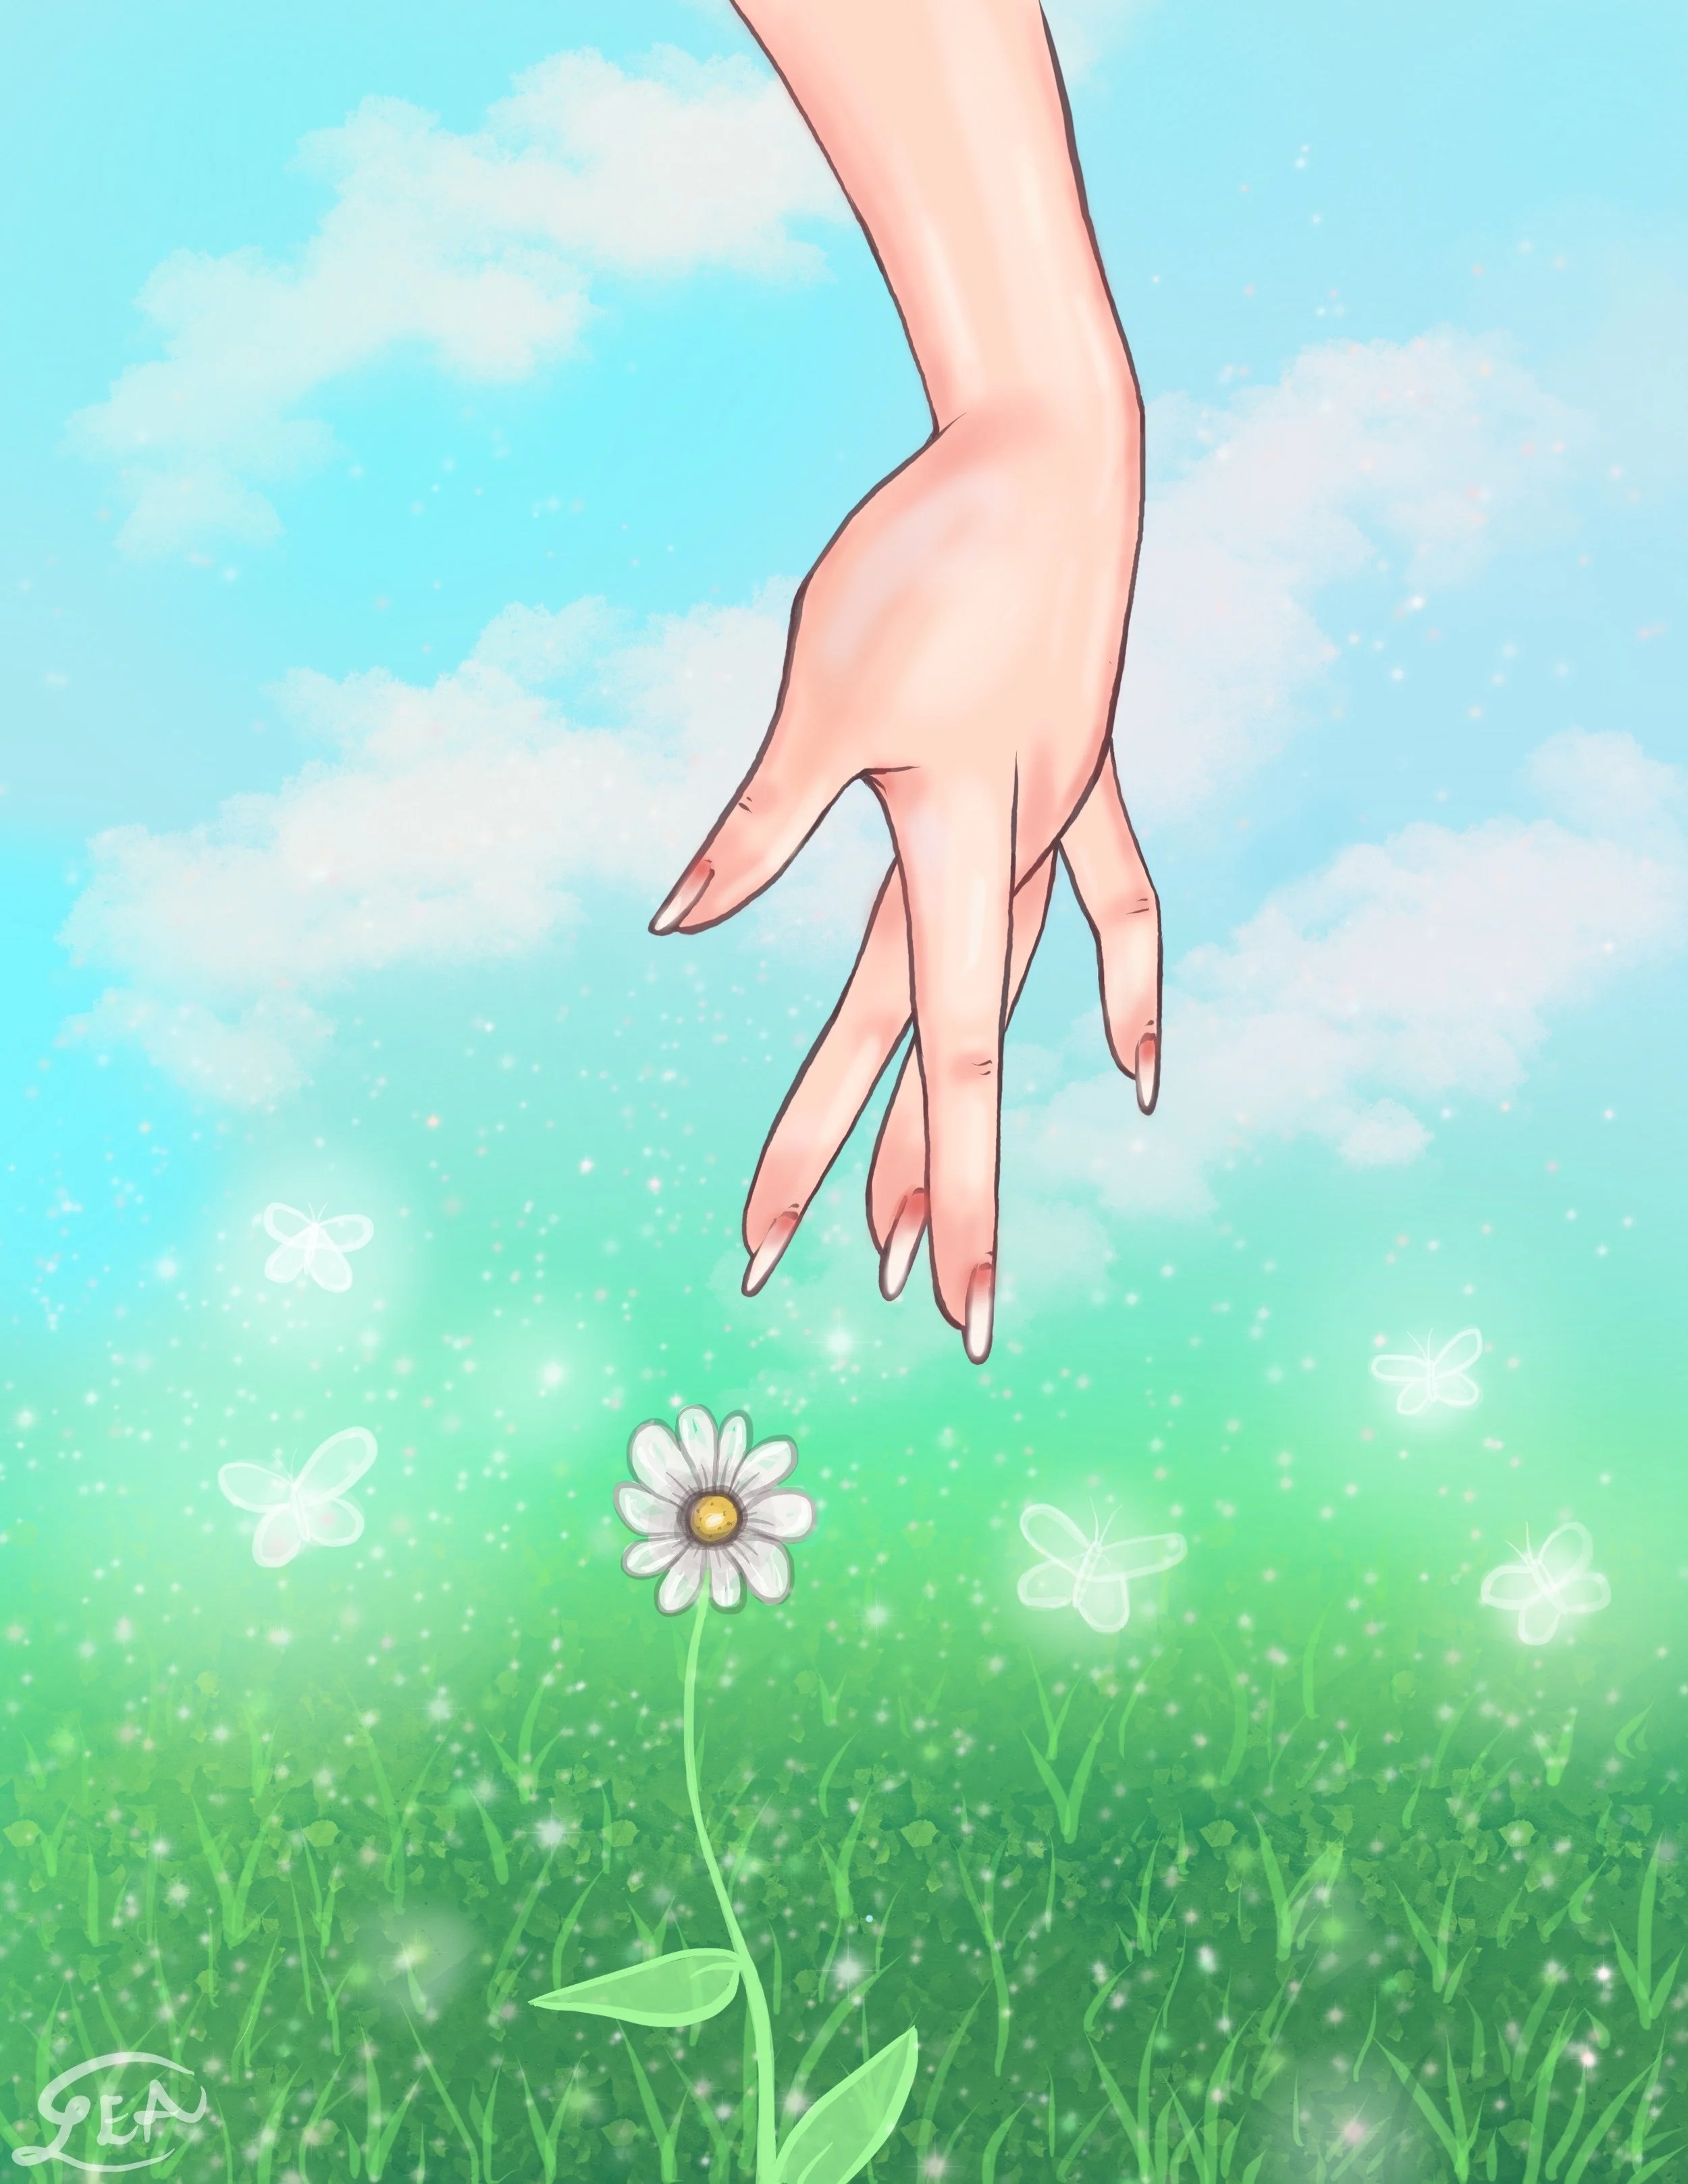
Digital Design by Lea Byrnes Art
Over the course of my time using Procreate, I have noticed various pros and cons of creating digital vs. traditional artwork. Here are some pros:
The “Undo” Button: For obvious reasons, the undo button is a wonderful advantage of digital art, allowing you to redo a line or brushstroke, or tons of them, with the touch of a button.
Layers: The ability to work on multiple layers, as well as hide, merge, or delete them, is one of the biggest pros for many reasons. This feature allows you to make as many messy initial sketches as you want, going over your line art in a new layer each time until you are satisfied with it. There is no need to worry about eraser marks, because you can simply delete or hide the sketches underneath once you are ready to color/shade your final line art!
Reference Picture: Procreate allows you to upload a reference picture directly into the program, and you can zoom in and out.
Eyedropper Tool: Possibly one of the most convenient features of Procreate is the ability to pull the exact colors straight from your reference picture or drawing simply by holding down your finger over the desired area. You can also click “create a new palette from camera” to automatically generate an entire palette based on colors from a photo in your camera roll!
Editing: Clicking the “Adjustments” tool from the toolbar allows you to edit the hue, saturation, and brightness of each layer as needed. This is tremendously helpful if you realize your original colors are not as vibrant or bright as you intended (or if they need to be toned down)! You can also click the “N” icon next to a layer to adjust the opacity or edit the layer in various ways, including Color Dodge, Soft Light, Hard Light, Linear Burn, and more. Being able to completely change your original colors is a huge pro of digital art.

Digital Design by Lea Byrnes Art
Making Multiple Versions: Another thing I love about digital art is that you can make tons of different edits of the same piece! You can also copy a layer from one project into a new project simply by dragging it with one finger, and using another finger to go back into the Gallery, selecting a new project, and dropping it in.
No Photographing: Photographing art can be so frustrating, and with digital art there is no need to worry about how you will capture the lighting and colors accurately! The final piece is already digitized and ready to share on social media, which is very convenient.
Endless Possibilities: I was blown away by the countless brushes to choose from, from brushes that look like real bricks, grass, water, and clouds; to brushes that mimic every type of pencil and paint with incredible accuracy. The amount of textures to choose from are literally endless — you can even create your own brushes!
Apple Pencil: The Apple pencil is truly an amazing piece of technology. I have the 2nd Generation version, and it has the incredible ability to sense the amount of pressure that you are using and adjust the thickness of your line as well as the opacity accordingly. In addition, you can still rest your hand anywhere on the iPad while you are drawing, and it will not mess up your artwork!
Portable & Convenient: Drawing on an iPad is relaxing, portable, and easy to do anywhere. Plus, there is no
clean-up stress or having to buy new products!
The cons of digital art are few, but after a while, I noticed that although the increased efficiency is convenient, I miss the slower process of mixing paints, washing brushes, and other activities that go along with creating traditional art. It feels more organic. Digital art can be overwhelming due to the endless options of brushes, textures, and colors to choose from. It also lacks the satisfaction of having something physical to hang on your wall (unless you make a print). Nonetheless, Procreate is an incredible program that feels like the future of art in many ways.
Here are my tips for artists beginning their Procreate journey:

Photography by Rimidolove | Dreamstime
Take time to explore the different brushes and see which ones you like best. My favorites are the Soft Brush for shading, Studio Pen for line art, and Glimmer for sparkles.
Utilize the smudge tool, the Gaussian Blur, or the eraser at a low opacity to blend colors efficiently. Gaussian Blur is also the perfect tool for creating a beautiful ombré background.
Create a Pinterest board full of digital art inspiration and reference photos!
Take advantage of the realistic glowing effect that you can achieve through tools such as the Bloom tool, the Lightpen, and the Lightbrush. I love adding glowing words to my pieces! I also add sparkles with the Glimmer brush in almost every painting.
Use two fingers to swipe two or more layers together to merge them, allowing you to edit the entire image as a whole at the end if you so desire.
When working from a reference picture, zoom in on your reference picture and adjust your canvas size accordingly in order to make them the same size, making it easier to accurately copy the image. You can also zoom in on your drawing to add extra details.
Follow your favorite digital artists on Instagram and look for accounts that show digital art tutorials and tips (such as @thecreativebix, @genevievesdesignstudio, and @shepaintsletters on Instagram)!
Make sure you choose your canvas size and DPI wisely to ensure a high quality image. I have been using an 8x10” canvas at 300 DPI.
To get perfect line art, click on the brush that you are using and select “Stabilization”. Increasing the stabilization of the brush will make your lines smooth and perfect.
Try not to get discouraged because it will be hard at first. Just like any new medium, digital art requires time and patience to learn, as it is an entirely new skillset.
Without a doubt, I am absolutely amazed and impressed by this program and I recommend it to any artist looking to expand their skill set. To my fellow traditional artists, do not be afraid to venture into the unknown! You never know what you will love until you try it. Who knows? You might just surprise yourself. When it comes to digital art, the sky is the limit!
